

Stick Drift Test: How to Check Controller Drift Online
If your character slowly walks off by itself, your camera keeps creeping to one side, or your cursor slides across a menu while your hands are off the controller, you probably want to run a stick drift test. Stick drift is one of the most common complaints about modern gamepads, and the good news is that you can check for it in a couple of minutes using nothing more than a web browser and a USB or Bluetooth connection. This guide explains what drift is, how to test stick drift online with a browser gamepad tester, how to tell drift apart from a deadzone problem, and what to do once you know the result.
Quick Answers
- What is stick drift? It is when an analog stick reports movement even though you are not touching it.
- How do I check for it? Connect the controller, open a browser gamepad tester, press a button so the page detects the pad, then leave the sticks alone and watch the axis values.
- What should a healthy stick show at rest? Values that sit at or very close to zero and stay steady.
- What counts as drift? A value that sits clearly away from zero, or that keeps wandering, while the stick is untouched.
- Is drift the same as a deadzone issue? No. A deadzone is a software setting that ignores small input. Drift is the stick itself sending input it should not.
- What can I try first? Cleaning around the stick base, recalibrating, and adjusting the deadzone in the game or system settings.
- When should I replace the controller? When drift returns after cleaning and recalibration, and it affects normal play.
What Stick Drift Is and How It Feels in Games
An analog stick is a small lever that sits on a pivot and moves two sensors, one for left and right and one for up and down. Each sensor reports a number that tells the game how far the stick is pushed along that direction. When the stick rests in the center, both numbers should be at neutral. Stick drift happens when one or both numbers move away from neutral without any input from you.
The causes vary. Dust and grime can collect around the base of the stick and keep it from returning exactly to center. The plastic and internal parts can wear down with heavy use, so the stick no longer rests where it used to. The sensing components themselves can also change over time. You do not need to know which of these is responsible to run a stick drift test, but it helps explain why drift often appears gradually rather than all at once.
In games, drift shows up in a few recognizable ways:
- Camera creep. In a shooter or action game, the view slowly rotates when you are not touching the right stick.
- Self-walking characters. Your character drifts in one direction while you stand still.
- Menu slide. The selection jumps around menus or the cursor floats across the screen.
- Aim pull. Your crosshair settles slightly off target, so you constantly fight to correct it.
- Inconsistent steering. In racing games, the car pulls to one side on straight sections.
Sometimes drift is obvious. Other times it is subtle enough that you simply feel like your aim is a bit off. That is exactly why a numeric check is more reliable than trusting your impression in a single game.
Stick Drift Test Online With a Browser Gamepad Tester
If you are wondering how to test stick drift without installing anything, a browser based stick drift tester is the easiest route. These pages use the gamepad support built into modern browsers to read your controller and display what it is sending in real time. Here is a clean way to run the test.
Step 1: Prepare the controller
Connect the controller to your computer by USB cable or by Bluetooth, whichever you normally use. Close other apps that might be reading the controller, such as a game launcher or a streaming tool, because some programs can take exclusive control of a pad. Put the controller on a flat, stable surface so nothing pushes against the sticks.
Step 2: Open the tester and wake the controller
Open a browser gamepad tester page. Most browsers will not list a controller until you interact with it, so press a button or nudge a stick once. After that, the page should show a controller and begin displaying live values. If nothing appears, jump to the troubleshooting section below.
Step 3: Read the axis values
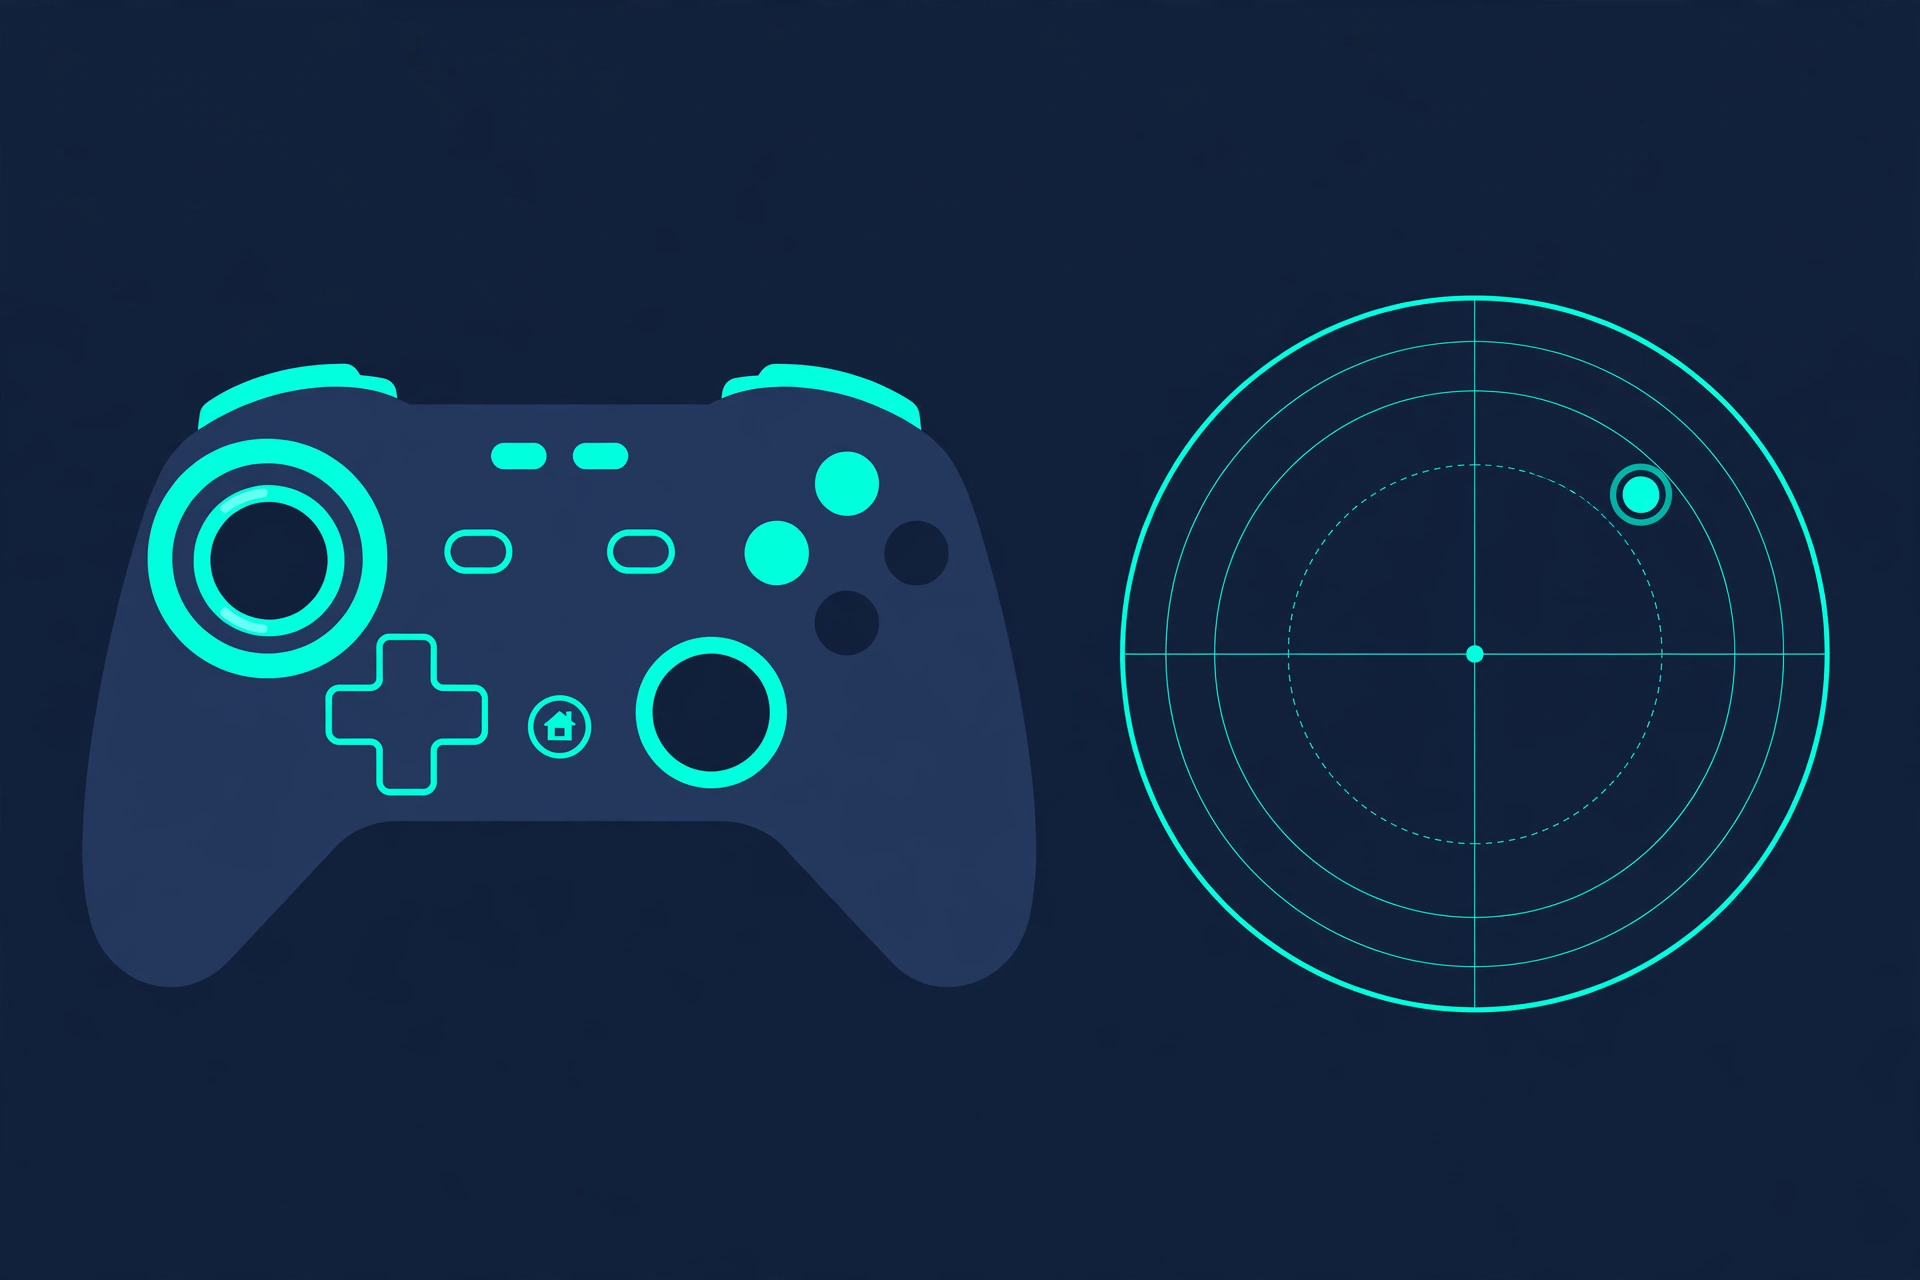
Most testers show each stick as a dot inside a circle, plus a list of numbers for each axis. The numbers usually run from negative one to positive one. Negative values mean the stick is pushed left or up, positive values mean right or down, and zero means centered. A typical layout is two axes for the left stick (horizontal and vertical) and two for the right stick, though the labels and order can differ between testers and controllers.
Pay attention to the precise decimal values, not only the dot on screen. A dot can look centered while the number beside it is a small step away from zero. Many testers show several decimal places, which lets you see tiny offsets that you could never feel in your thumb.

Step 4: Watch for movement at rest
This is the heart of the stick drift test. Take your hands off the controller completely and watch for at least thirty seconds to a minute. Look for three things:
- A steady offset. One axis sits at a value clearly away from zero and stays there. This means the stick thinks it is slightly pushed in one direction.
- Slow wandering. The value creeps up or down over time instead of holding still.
- Jumps. The value suddenly changes by a noticeable amount with no input from you.
If every axis stays at or extremely close to zero and holds steady, your sticks are behaving normally at rest. Remember that no physical sensor produces a perfectly flat reading forever, so tiny, stable differences from zero are not automatically a problem. What matters is whether the value is large enough or unstable enough to affect play.
Step 5: Test the movement range
After checking at rest, rotate each stick slowly around its full circle, then release it and let it snap back. Watch whether the values return to the same neutral reading each time. A stick that rests at zero before you move it but settles somewhere else after being released may have a mechanical issue, such as grime or a worn spring. Repeat this a few times for each stick, since a single release can be misleading.
Step 6: Write down what you see
Note which stick and which axis misbehaves, roughly what value it shows, and whether it is steady or changing. If you later contact a manufacturer or retailer, this record is much more useful than saying the controller feels off.
Stick Drift vs Deadzone: What Is the Difference?
People often use the words drift and deadzone as if they mean the same thing, but they describe different parts of the problem.
A deadzone is a software setting that tells a game or system to ignore small stick movements near the center. It exists so that tiny, harmless variations in the sensor do not cause unwanted motion. Games and system menus often let you adjust it, and some set it automatically.
Stick drift is the physical stick sending input when it should not. It is a hardware symptom. A deadzone can hide it, but it does not fix it.
Here is a practical way to think about the relationship:
- If the tester shows a stable, near zero reading at rest but a game still moves your camera, the issue is more likely a deadzone that is set too small in that game, or a game level setting you can change.
- If the tester shows a clear offset or wandering at rest, the controller itself is sending unwanted input. A larger deadzone might mask it, but the underlying drift is still there and may grow.
- If the tester looks fine but the stick feels sluggish or unresponsive near the center, you may have the opposite problem, a deadzone that is too large.

This is why a stick drift test outside any game is valuable. It shows what the controller reports before any game applies its own filtering. If the raw numbers are clean, you can focus on settings. If the raw numbers are not clean, you know the problem starts in the hardware.
What to Do If Drift Is Confirmed
Once your stick drift tester shows a real problem, work through the options from least to most drastic.
Clean around the stick base
Dust, skin oils, and sticky residue can stop a stick from returning to center. Start with a simple cleaning:
- Turn off the controller and disconnect any cable. If it has removable batteries, take them out.
- Use a can of compressed air or a soft brush to clear loose dust from the gap around the base of the stick.
- Lightly dampen a cotton swab with isopropyl alcohol. It should be damp, not dripping. Rub gently around the base of the stick where the cap meets the housing.
- Move the stick through its full circle while cleaning so that you reach all sides of the opening.
- Let the controller dry fully before turning it on again.
Never pour liquid into the controller, and avoid soaking anything. Also be aware that opening the shell may affect your warranty, so if your controller is still covered, consider contacting the seller or manufacturer before doing anything beyond surface cleaning. After cleaning, run the stick drift test again and compare the new readings to your notes.
Recalibration options
Calibration teaches the system where the center of each stick is. Depending on your controller and platform, you may have several options:
- Operating system calibration. Some computers include a game controller settings panel with a calibration routine.
- Platform tools. Gaming platforms and launchers often include controller settings that let you recalibrate or adjust stick behavior.
- Manufacturer software. Some controllers come with companion software or firmware tools that offer calibration or a reset.
- In game settings. Many games let you raise the inner deadzone, which can stop small drift from affecting play.
Calibration can help when the stored center point is off, but it cannot repair a stick that is physically worn or dirty. If a recalibration fixes the readings, retest after a restart and after a few minutes of use to see whether the improvement holds.
When to replace the controller
Consider replacement when drift keeps coming back after cleaning and recalibration, when the offset is large enough to affect normal play, or when the readings keep getting worse. Before buying a new one, check these routes:
- Warranty or return policy. If the controller is new enough, the seller or manufacturer may offer a repair or replacement. Your test notes will help here.
- Replacement parts. Some controllers use stick modules that can be swapped, but this takes care and comfort with small electronics, and it is a personal decision.
- A new controller. If repair is not practical, replacing the controller is the most straightforward fix.

Raising the deadzone is a reasonable short term workaround, especially for casual play, but it trades away fine control near the center, so it may not suit games that depend on precise aiming.
Troubleshooting Your Stick Drift Test
The tester shows no controller
This is the most common hiccup, and it is usually easy to resolve.
- Press a button. Browsers often hide gamepads until they receive input. Press a button or move a stick after the page loads.
- Check the connection. Try a different USB cable or port, since some cables carry power only and no data. For Bluetooth, remove the pairing and pair again.
- Close competing apps. A launcher, overlay, or streaming program might be holding the controller. Close it and refresh the tester.
- Reload the page. If you connected the controller after opening the tester, refresh the page and press a button again.
- Try another browser. Gamepad support can differ between browsers, so a second browser is a quick comparison.
- Try another device. If the controller shows up elsewhere but not on your usual computer, the issue is likely with the connection or system settings rather than the controller.
Drift readings change between tests
If your numbers are different every time you test, that does not mean your tester is broken. Several things can explain it:
- Rest position. A stick may settle at slightly different spots each time it is released, especially if grime or wear is involved. Release it several times and compare.
- Temperature and handling. Readings can shift a little after the controller has been held for a while or has been sitting in a different environment.
- Wired vs wireless. Connection type can change how the pad reports, so test the way you actually play.
- Calibration state. A recent recalibration, a restart, or a reconnection can change the center point the system uses.
- Competing software. Another program applying its own filtering or remapping can alter what the tester sees. Close extra controller tools and test again.
For a fair comparison, repeat the stick drift test three or four times under the same conditions, with the controller flat and untouched, and record each result. If the values are consistently off or consistently unstable, treat the drift as real. If one run looks bad and the rest look clean, clean the stick base, restart, and test again before drawing conclusions.
Frequently Asked Questions
How do I know if I really have stick drift?
Run a stick drift test with the controller resting on a flat surface and your hands off it. If an axis sits clearly away from zero, wanders, or jumps without any input, that points to drift. If the values hold at or very near zero, your stick is probably fine and the issue may be in a game setting.
Can a stick drift tester fix my controller?
No. A stick drift tester only reads and displays what the controller is sending. It helps you see the problem clearly, but fixing it requires cleaning, recalibration, setting changes, or repair and replacement.
How do I test stick drift without a game?
Use a browser gamepad tester. Connect the controller, press a button so the page detects it, and watch the live axis values with the sticks untouched. This shows the controller’s raw output before any game adds its own deadzone.
Is it drift or just a deadzone that is too small?
Check the tester first. If the readings are clean at rest but a game still moves on its own, the game’s deadzone is the likely cause, and increasing it can help. If the tester shows an offset or wandering at rest, the controller is sending unwanted input, which is drift.
Can cleaning really help with drift?
Sometimes. If dust or residue around the stick base is the cause, a careful cleaning with a dry brush, compressed air, or a lightly dampened cotton swab may improve things. It will not help if the cause is wear or a failing sensor, so retest afterward to see whether anything changed.
Should I just raise the deadzone and keep playing?
That is a reasonable short term fix for mild drift, particularly in games that do not need fine aim. Keep in mind that it hides the symptom rather than solving it, and it reduces sensitivity near the center. If the drift grows or bothers you, consider repair or replacement.
Related Guides
Test your controller with the Gamepad Tester, including the vibration test guide. For other controllers, see How to Test an Xbox Controller Online and PS5 Controller Test. If your controller is not detected at all, see the Gamepad Not Detected Fix Guide. For deadzone testing and fixes, see How to Test Controller Deadzone and Fix Stick Drift.