

Controller Deadzone Test: Measure Your Stick Deadzone Online
If your character creeps forward when you are not touching the stick, or your aim feels like it ignores the first bit of movement, you are probably dealing with a deadzone issue. Before you change any settings, the smart move is to measure what your controller is actually doing. A controller deadzone test shows you exactly where each stick starts to register input, so you can stop guessing and start comparing. This guide takes a measurement first approach. You will learn how to run the test in your browser, how to read what you see, and only then what to do about it. Think of it as using a deadzone tester the way a mechanic uses a diagnostic tool: observe first, decide second.

Quick Answers
- What is a deadzone? A small area around the stick’s center where movement is ignored, so tiny unintended signals do not turn into on screen motion.
- How to test controller deadzone: Open a browser gamepad tester, connect your controller, and move each stick very slowly from center. Note the point where the value first changes from zero.
- What to compare: Left stick against right stick, and a fresh test after restarting the controller or the browser.
- What good looks like: Both sticks start registering at a similar, small distance from center, and the values return to zero when you let go.
- Deadzone or drift? A deadzone is about where input starts. Drift is about input appearing when you are not touching the stick at all.
- When to stop adjusting: If the resting values keep wandering, jump around, or differ a lot between sticks even after adjustment, the cause is more likely hardware wear than settings.
What a Deadzone Is and Why Controllers and Games Use One
An analog stick is a small mechanical part. When you let go, it springs back toward the middle, but it rarely lands at the exact same electrical position every time. Tiny manufacturing differences, spring tension, and dust all mean the stick may report a very small value even when you are not pushing it.
If a game treated every one of those small values as real input, your character would shuffle around on its own and your camera would slowly turn by itself. To prevent that, developers and system software define a deadzone, which is a region around the center where input is treated as zero. Only when the stick moves past that region does the game start reading it as a deliberate action.
There are a few related ideas worth separating:
- Inner deadzone. The area near the center that is ignored. This is what most people mean by “deadzone.”
- Outer deadzone. Some games also treat the very edge of the stick’s travel as full input, so you reach maximum speed slightly before the physical limit.
- Axial versus radial handling. Some games check each axis separately, while others look at the stick’s overall distance from center. This changes how diagonal movement feels, and it is one reason the same controller can feel different from game to game.
A deadzone is not a defect. It is a design choice with trade offs. A larger one hides small unwanted signals but makes fine, precise movement feel delayed. A smaller one feels more responsive but exposes any tiny resting offset in your hardware. Measuring your own controller tells you which side of that trade off you are living on.
Controller Deadzone Test Online With a Browser Gamepad Tester
You do not need to install anything special to run a controller deadzone test. A browser based gamepad tester reads your controller through the browser’s built in gamepad support and shows live values for each stick and button. Any reputable page that displays raw axis values will work. Look for one that shows numbers, not just a picture of a stick, because you need the numbers to see the first registration point.
Setting up
- Connect your controller by cable or Bluetooth, whichever you normally use. Testing the way you play gives you the most relevant results.
- Open the gamepad tester page in your browser.
- Press any button on the controller. Browsers often will not show a gamepad until it has sent some input, so this wakes it up.
- Confirm the page shows your controller and that the stick values are visible.
- Close other tabs or apps that might be reading the controller, since they can interfere with what you see.
Finding where movement first registers
This is the core of the test. Work on one stick at a time.
- Let the stick rest untouched and note the values on both axes. Write down what you see. Ideally they sit at zero or very close to it.
- Place your thumb gently on the stick without pushing.
- Move the stick extremely slowly from center toward one direction, such as straight up. Slow matters more than anything else here. A quick flick skips past the interesting part.
- Watch the number for that axis. Stop the instant it changes from its resting value. That position is where input first registers.
- Note roughly how far you moved. You can describe it as a small fraction of the stick’s travel, or simply note the value the page displays at that moment.
- Return to center, let the stick settle, and repeat for down, left, and right.
- Then try diagonals, moving slowly toward each corner.
Repeat each direction a few times. Single readings can be misleading, and you want to see whether the same point shows up again.
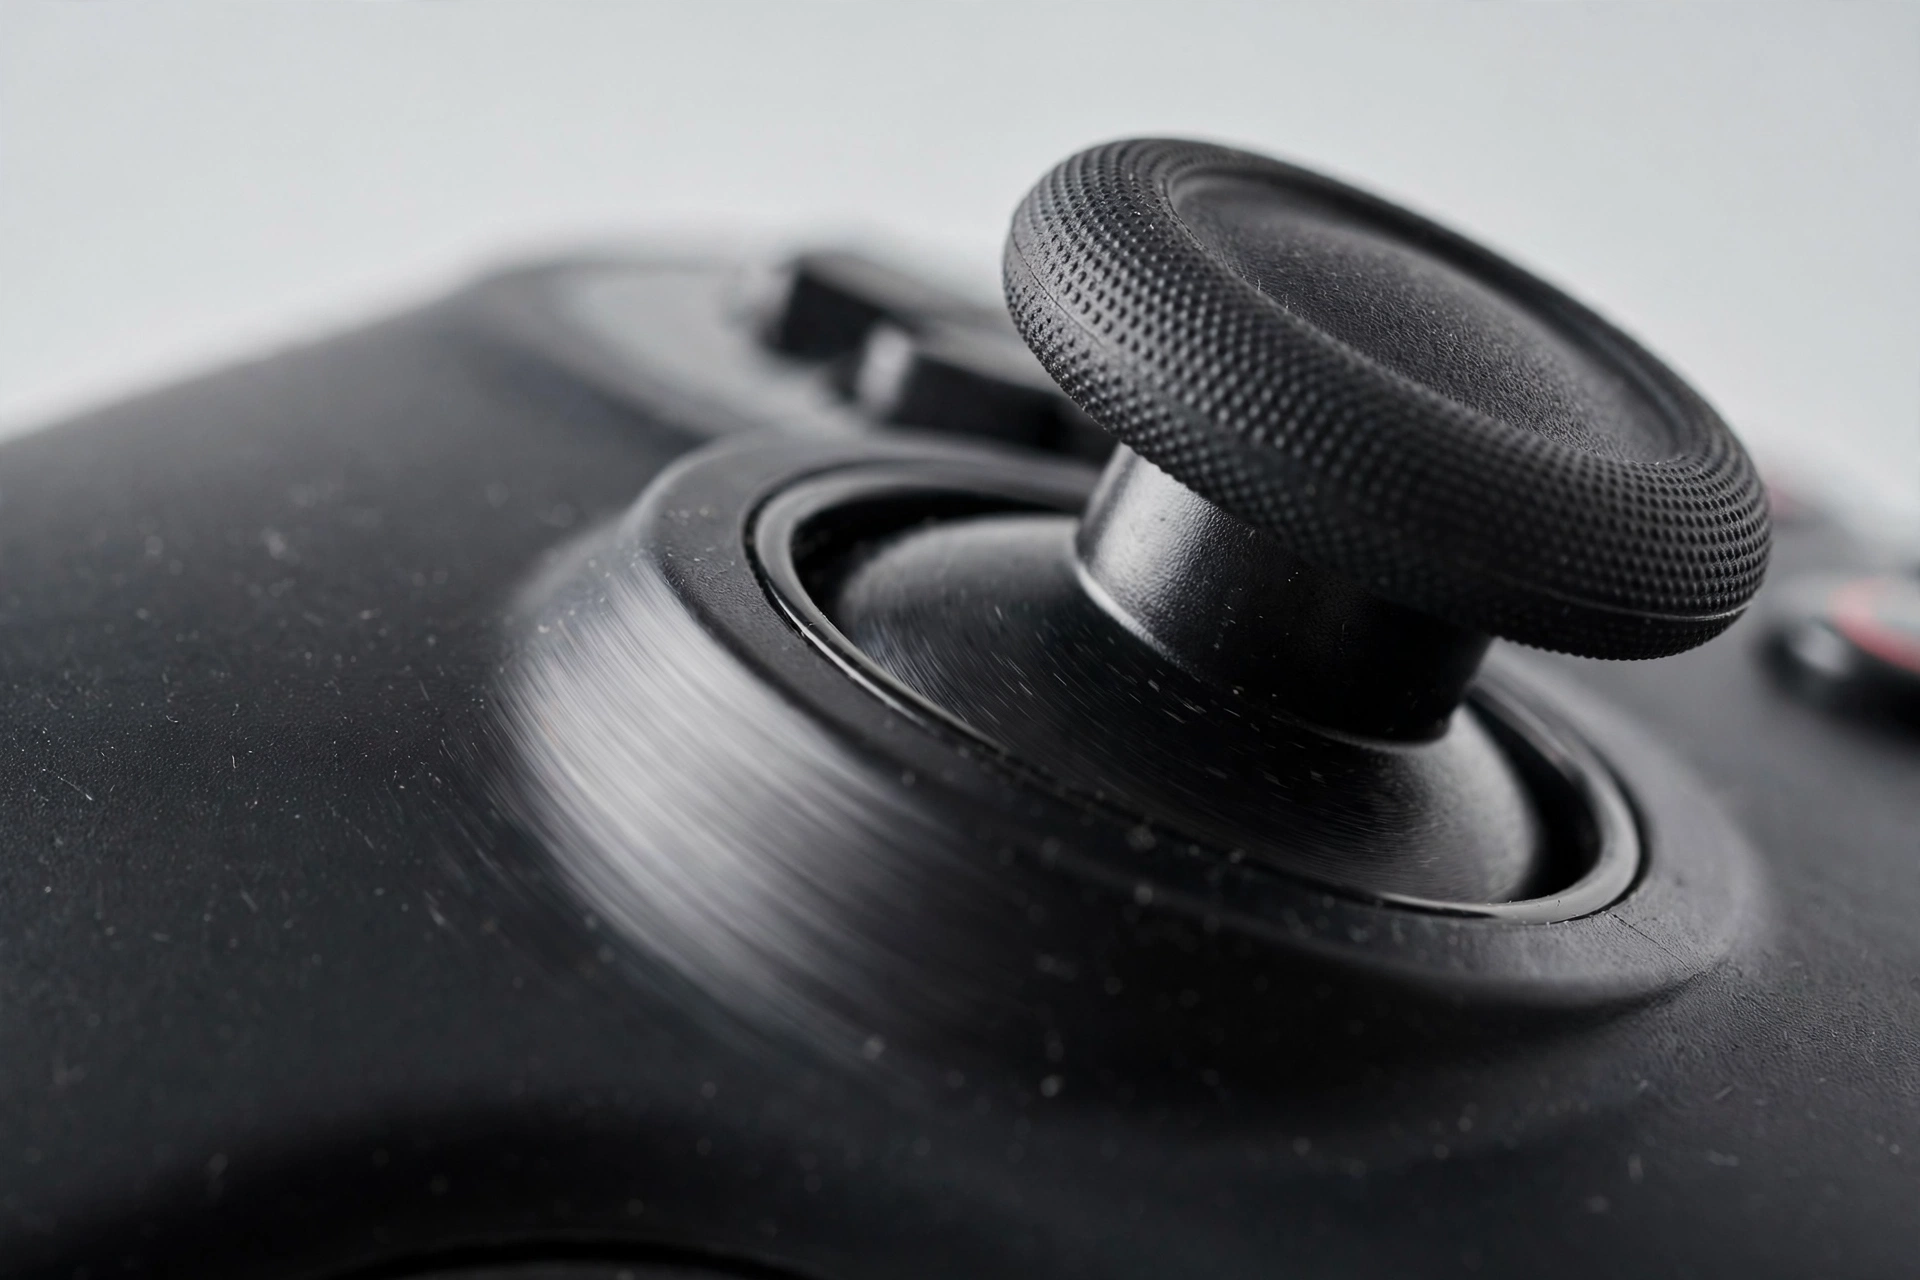
Comparing the left and right sticks
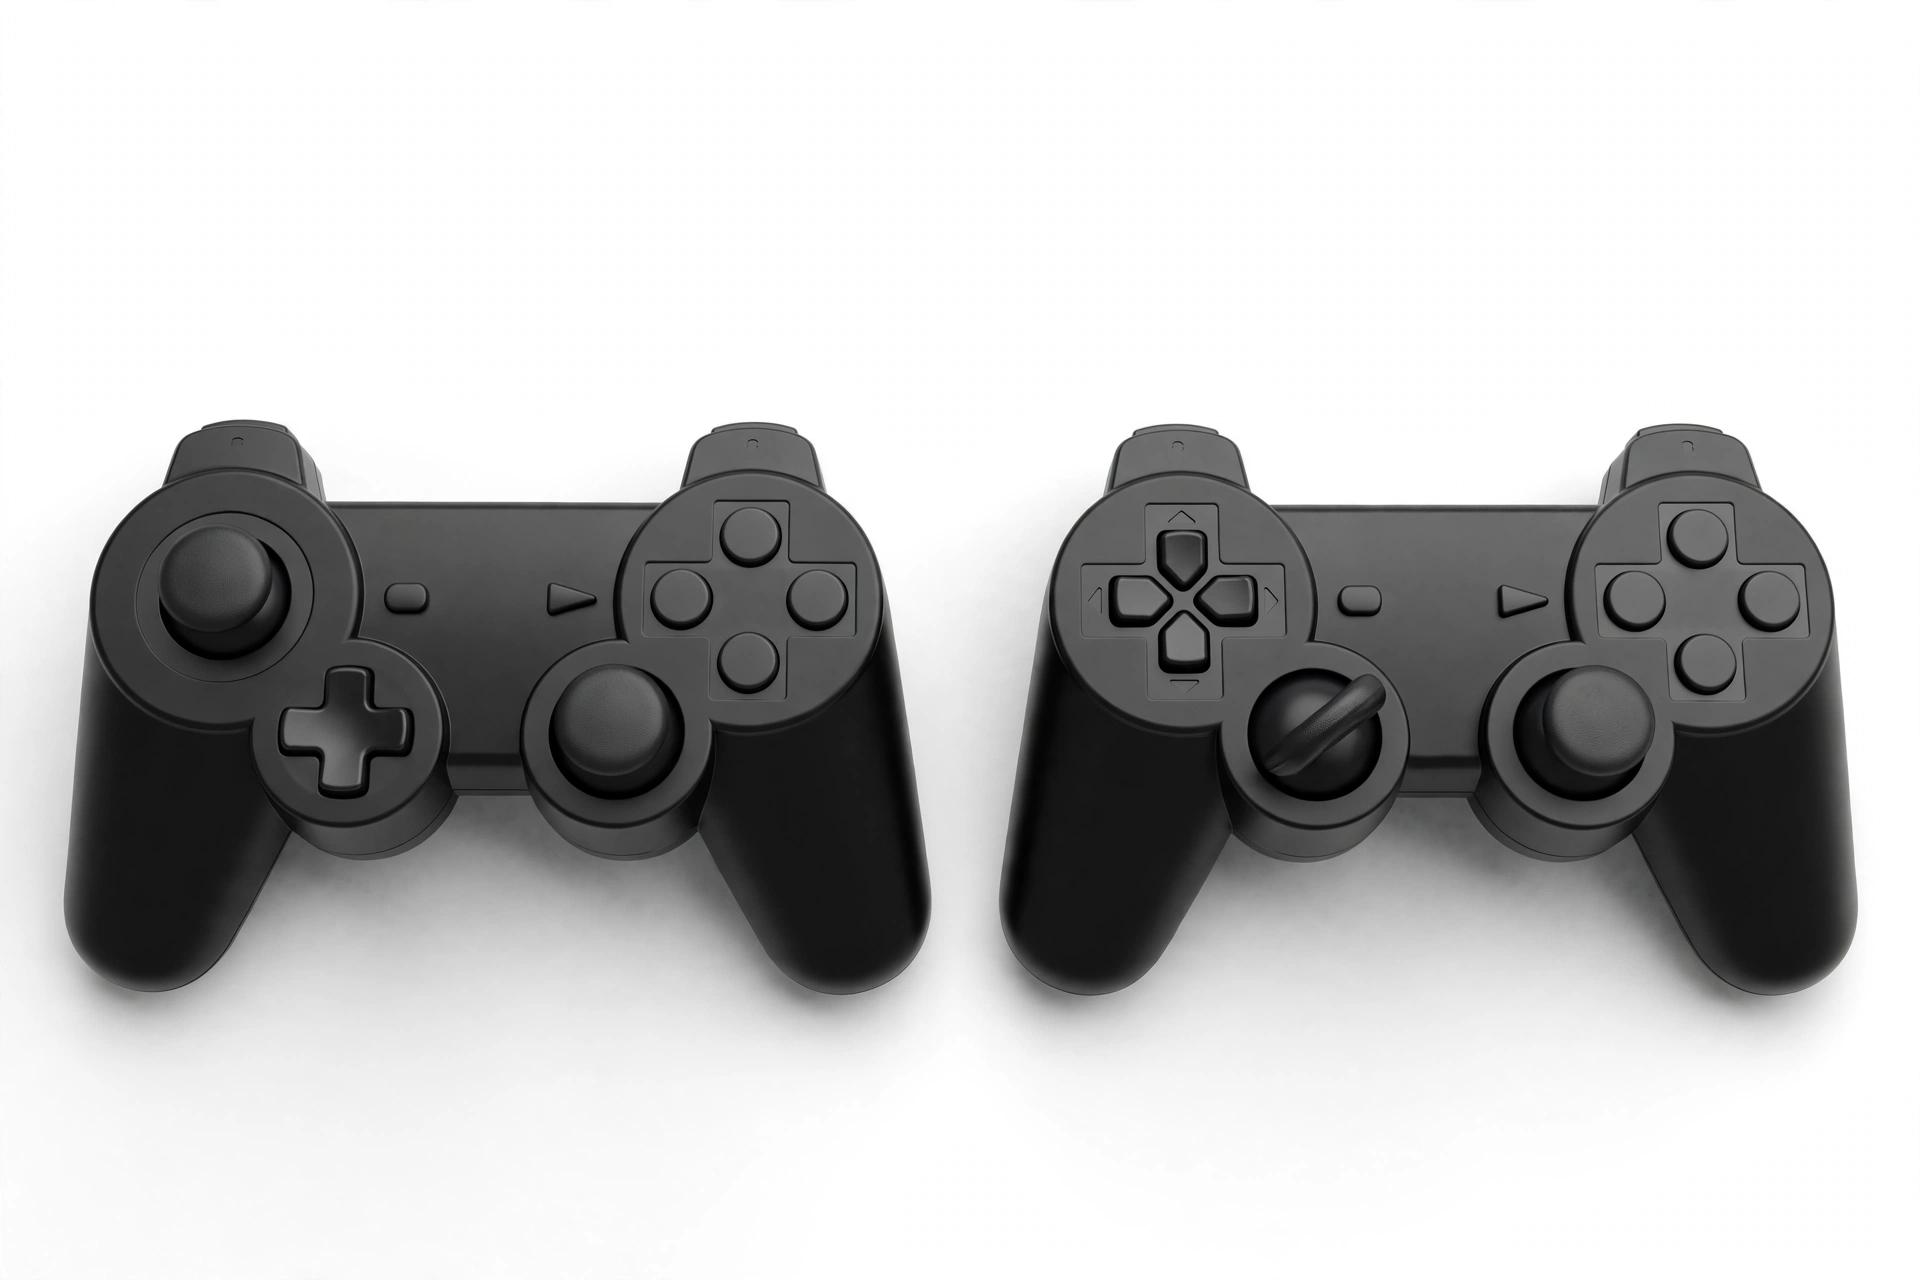
Run the identical routine on the other stick, using the same speed and the same directions. Then compare your notes. You are looking for differences in three things: the resting values, how far each stick travels before first registering, and whether the behavior is the same in all four directions. Wear and manufacturing variation often show up as differences between the two sticks, since the left one usually handles more movement in many games.
Testing after a restart
Sticks can behave differently after the controller has been powered off and on again. Many controllers read the center position when they power up, so a stick that was slightly off center at that moment can carry that offset. Turn the controller off, reconnect it, reload the tester page, and run a shorter version of the test. Keep your hands off the sticks while it connects so it calibrates to a true rest position. If results change noticeably after a restart, write that down. It tells you the issue may be about power up behavior rather than a fixed property.
How to Read the Results
Once you have your notes, the goal is to interpret them without jumping to conclusions. There is no single correct number, and this guide will not give you one, because the right answer depends on the controller, the connection, and what the game or system layers on top.
What a small, even deadzone looks like
A healthy result usually has these traits:
- Resting values sit at or very near zero on both axes.
- Each direction starts registering after a similar small amount of movement.
- Left and right sticks behave in a comparable way.
- After you release the stick, values return to the same resting point each time.
- Restarting does not change the pattern in a meaningful way.
In this case, the behavior is consistent and predictable, which is what matters most. You can play comfortably and adjust sensitivity to taste.
What a large or uneven deadzone looks like
Warning signs include:
- A long stretch of travel where nothing registers, so fine aiming feels sluggish.
- One direction registering much sooner than the opposite direction.
- One stick needing noticeably more movement than the other.
- Resting values that are not zero and that change from one rest to the next.
- Readings that jump or flicker while you hold the stick still.
An even but large deadzone is mostly a feel issue. An uneven one, where the sides disagree with each other, points toward wear, a worn spring, debris, or a calibration offset.
Why the numbers vary between controllers and games
Do not be alarmed if your results differ from someone else’s. Several factors change what you see:
- Hardware differences. Different controller models use different stick mechanisms, springs, and sensors, and individual units vary even within one model.
- Firmware and drivers. The controller or your operating system may apply its own processing before the browser ever sees a value.
- The tester itself. Some pages show raw values, while others may apply their own display rounding or thresholds.
- Game logic. A game can add its own deadzone on top of whatever the system reports, and it may use a different shape, such as square versus circular. That is why a stick can feel fine in one title and loose in another.
- Connection type. Wired and wireless setups can differ in how input is processed.
The practical takeaway is to compare your controller against itself over time and compare your two sticks against each other, rather than chasing a figure from a forum post.
Deadzone Versus Stick Drift
These two terms get mixed up constantly, but they describe different things, and your test results help separate them.
A deadzone is about the start of movement. It answers the question: how far do I have to push before the game responds?
Drift is about unwanted movement. It means the stick reports input when you are not touching it, or reports more than you are actually pushing.
Here is how to tell which one you are seeing:
- Hands off the stick, values not at zero, or changing. This is drift or a resting offset. Your deadzone test showed input without any input from you.
- Hands off the stick, values at zero, but a long dead stretch when you start pushing. This is a large deadzone and not drift.
- Values drift slowly in one direction while the stick sits untouched. Classic drift behavior.
- Values jump randomly or flicker with no touch. This suggests a worn or dirty sensor rather than a simple setting.
- Only a game, but not the tester, shows the creeping. The problem is likely game side, such as a very small in game deadzone combined with a tiny resting offset.
You can have both at once. A controller with a slight resting offset might look fine until a game with a very small deadzone exposes it. Running a controller deadzone test in your browser, where there is no game logic involved, helps you see the hardware signal on its own.
Adjusting the Deadzone in Game and System Settings
Once you know what you are dealing with, adjustment is the first thing to try, because it costs nothing. The idea is to make the software’s ignored zone fit what your hardware actually does.
In game settings
Many games offer stick deadzone or stick sensitivity options, sometimes separately for left and right, and sometimes labeled by function, such as movement and camera. If your test showed a small resting offset, raising the deadzone slightly can hide it. If your test showed a large dead stretch and you want more responsiveness, lowering it can help, as long as your resting values stay at zero.
Make small changes, then test in a calm spot in the game, hands off the stick, to confirm nothing creeps. Adjust one stick at a time so you know what caused the change. Be aware that raising the deadzone too far trades away fine control, because small intentional movements will be ignored along with the unwanted ones.
In system and platform settings
Consoles, operating systems, and controller companion apps sometimes provide their own calibration or stick adjustment tools. Some let you set sensitivity curves or recalibrate the center. Options differ by platform and controller, so check what your system actually offers rather than assuming a specific menu exists. If you use a companion app or remapping tool, it may apply a deadzone before the game sees the input, which means you could end up stacking two deadzones without realizing it. After any system level change, go back to the browser tester and repeat your measurements to see the effect.
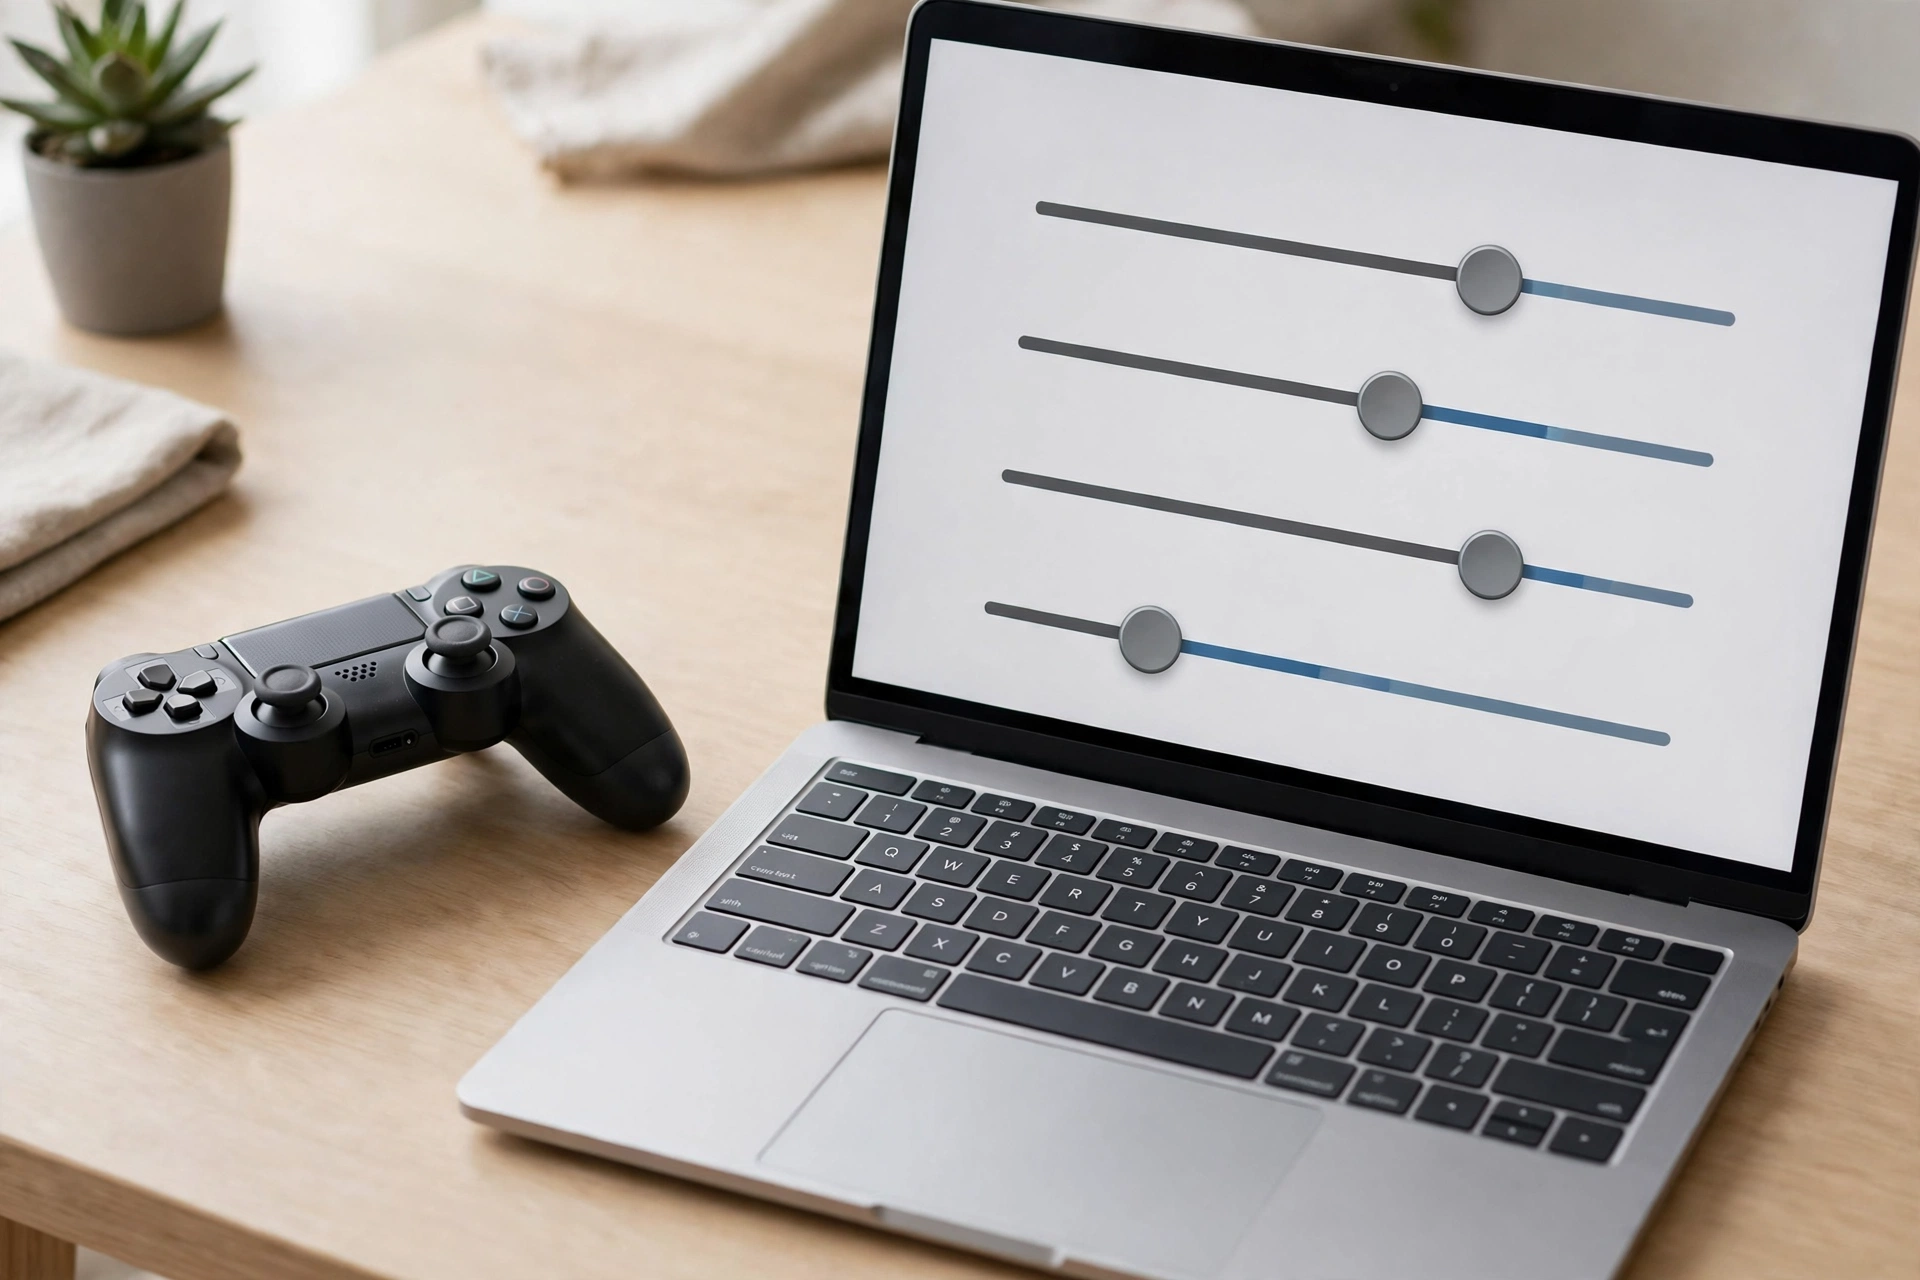
A sensible workflow
- Record your baseline results from the tester.
- Change one setting.
- Retest and compare against the baseline.
- Keep the change only if resting values stay at zero and movement still feels precise enough.
When Adjusting Stops Helping and the Problem Is Hardware
Software settings can only hide a problem. They cannot repair a mechanical fault. Here are signs you have reached the limit of what adjustment can do:
- You keep raising the deadzone to stop creeping, and the creeping returns or needs ever larger values.
- Resting values change from moment to moment, even after a restart.
- One direction is clearly different from its opposite no matter what you set.
- The stick feels loose, gritty, sticky, or does not spring back to center cleanly.
- The problem follows the controller across different games, devices, and testers, which rules out a single game or app.
- You have a deadzone setting so high that normal play feels clumsy, just to keep the stick quiet.
If several of these apply, the cause is probably wear, debris, or a failing component inside the stick module. At that point, your options are cleaning according to the manufacturer’s guidance, checking whether your warranty or a repair service covers the controller, replacing the stick module if your controller supports that, or replacing the controller. Your recorded test results are useful here, since they give you something concrete to show a support team. Take care with any repair you attempt yourself, and follow the manufacturer’s instructions for your specific model.
Frequently Asked Questions
How to test controller deadzone without installing anything?
Use a browser based gamepad tester. Connect your controller, open the page, press a button so it appears, then move each stick slowly from center and note where the value first changes. No special software is needed beyond a browser that supports gamepad input.
Is a deadzone tester accurate enough to trust?
It is accurate enough for comparing your own sticks and tracking changes over time. Keep in mind that tools may display values differently, and your system or the controller itself may process input first. Use the same tester each time so your comparisons are consistent.
Why does my result differ from the one in a video or forum post?
Controllers vary by model and even by individual unit, and testers, drivers, connection types, and games all influence what you see. Compare your left stick to your right stick and your results today to your results later, not to someone else’s numbers.
Should I test again after restarting my controller?
Yes. Some controllers read their center position when they power on, so a restart can change the resting values. If results change after a restart, note it, since that points toward a calibration or offset issue instead of a fixed trait.
Can I fix drift just by raising the in game deadzone?
Sometimes it hides mild drift, especially a small resting offset. It does not repair the underlying cause, and a high setting reduces precision. If you need to keep raising it, or the values keep wandering, the problem is likely hardware.
What is the difference between a deadzone and drift?
A deadzone is the ignored area near the center and determines when movement starts to register. Drift is unwanted input that appears when you are not touching the stick. A browser test helps you separate them, because drift shows up as nonzero values with your hands off, while a large deadzone shows up as a long stretch of travel before anything changes.
Related Guides
Test your controller with the Gamepad Tester, including the vibration test guide. To check for drifting sticks, see Stick Drift Test: How to Check Controller Drift Online. For other controllers, see How to Test an Xbox Controller Online and PS5 Controller Test. If your controller is not detected at all, see the Gamepad Not Detected Fix Guide. For deadzone fixes, see How to Test Controller Deadzone and Fix Stick Drift.